A Comprehensive Guide to Roto F Ceiling Fan Halogen Light Bulb Replacement
Introduction
Replacing the halogen light bulb in your Roto F ceiling fan is a straightforward process, but it’s essential to ensure that you do it properly to avoid potential issues with functionality, safety, or performance. Halogen bulbs are popular for their brightness and efficiency, and they work efficiently in many ceiling fan light fixtures. However, over time, these bulbs can burn out, requiring replacement. This guide will walk you through the necessary steps for replacing a halogen light bulb in a Roto F ceiling fan, offering tips and precautions to make the process as smooth and safe as possible.
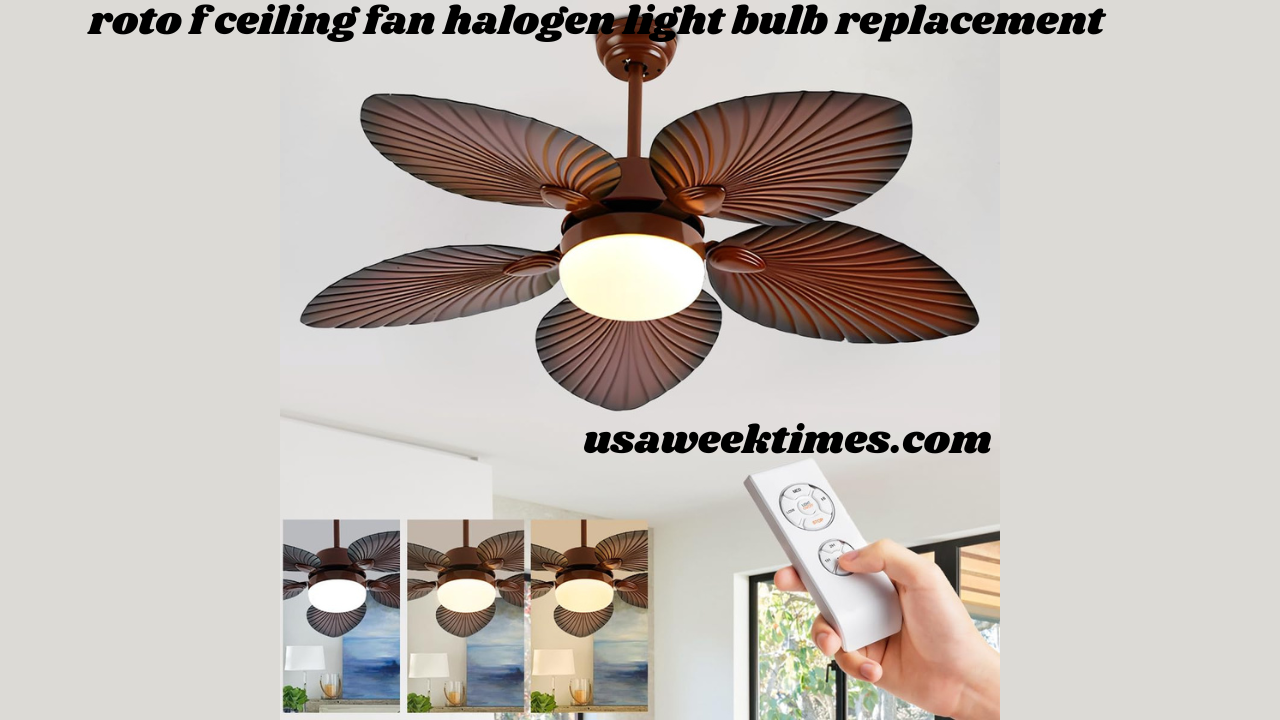
Understanding the Roto F Ceiling Fan Halogen Light Bulb
Before you begin replacing the bulb, it’s helpful to understand the role of the halogen bulb in the Roto F ceiling fan. Halogen bulbs are a type of incandescent bulb that uses halogen gas to increase their brightness and efficiency. They are commonly used in ceiling fans due to their ability to provide bright, focused light. Over time, halogen bulbs may lose their brightness or burn out, requiring a replacement.
Roto F ceiling fans are designed with specific lighting options, and the halogen bulbs used in them may have particular requirements when it comes to wattage and fitting. Always make sure you choose the correct replacement bulb for your specific model to ensure the light works as intended and avoids potential issues like overheating or electrical malfunctions.
Step-by-Step Process for Replacing the Halogen Bulb
Step 1: Turn Off the Power
The first and most important step in replacing any bulb is to turn off the power. Before you even touch the ceiling fan, make sure the fan is off and that the light fixture is not receiving power. This can be done by switching off the light at the wall switch and, for added safety, turning off the breaker for the fan at the electrical panel.
Step 2: Allow the Bulb to Cool
If the bulb has been recently used, it will be very hot. Allow sufficient time for the bulb to cool down before attempting to replace it. This will prevent burns or other injuries.
Step 3: Remove the Light Fixture Cover
Roto F ceiling fans typically feature a protective cover or globe over the light bulbs. To replace the bulb, you will first need to remove this cover. Depending on your model, the cover may be held in place by screws or may simply twist off. Carefully remove the cover and set it aside in a safe place to avoid damaging it.
Step 4: Remove the Old Halogen Bulb
Once the light cover is removed, the old halogen bulb will be visible. To remove the bulb, gently grasp it and twist it counterclockwise. Some bulbs may require a little extra pressure, so be sure to handle it carefully to avoid breaking the bulb. If the bulb is difficult to remove, you may want to wear gloves for additional grip and to protect your hands from any glass shards.
Step 5: Install the New Halogen Bulb
After removing the old bulb, it’s time to install the new one. Ensure you are using a halogen bulb with the correct wattage and size for your Roto F ceiling fan. Insert the new bulb into the socket and twist it clockwise until it is securely in place. Be sure not to touch the bulb with your bare hands, as oils from your skin can damage the bulb and shorten its lifespan. You can use a cloth or gloves to handle the new bulb during installation.
Step 6: Replace the Light Fixture Cover
Once the new halogen bulb is installed, carefully replace the light fixture cover. If the cover was held by screws, be sure to screw them back in place securely. If it was a twist-on cover, align it with the base and twist it back into position.
Step 7: Restore Power and Test the Light
After the cover is securely in place, go back to the electrical panel and turn on the breaker, and then turn the fan light on using the wall switch. Check to ensure the new halogen bulb is working properly and that the light is bright and functioning as expected.
Tips for Maintaining Your Halogen Bulbs
While halogen bulbs are durable and efficient, there are some simple maintenance tips to help prolong their lifespan and keep your Roto F ceiling fan working optimally:
- Avoid touching the bulb with bare hands: Halogen bulbs are sensitive to oils and dirt from your skin, which can shorten their life. Always handle the bulb with gloves or a cloth to prevent oils from transferring onto the surface.
- Use the correct bulb: Be sure to choose the correct wattage and bulb type for your ceiling fan. If the bulb is too powerful or too weak for the fan, it may cause issues with lighting or even damage the electrical components.
- Clean the fan regularly: Dust and dirt can accumulate on the light fixture and bulb. Cleaning the fan periodically will help keep the bulb operating efficiently and prevent overheating.
- Avoid using damaged bulbs: If you notice that a halogen bulb is flickering or dimming, it may be time to replace it before it completely burns out.
Troubleshooting Common Issues with Halogen Bulbs
While replacing the bulb is usually a straightforward process, you might encounter a few issues along the way. Below are some common problems and their solutions:
Bulb Does Not Light After Installation
If the new bulb does not light after installation, first ensure that the bulb is properly installed in the socket. If it is securely in place and still does not light, check the power supply. Ensure that the breaker is turned on and that the switch controlling the light is working. If these are all in order, the issue may be with the wiring or the light socket itself, in which case, consulting an electrician is recommended.
Flickering Light
If your new halogen bulb flickers or dims intermittently, it may be a sign of an electrical issue. Ensure the bulb is securely seated and that there are no loose connections in the socket. If the problem persists, it may be worth having the electrical system checked by a professional.
Conclusion
Replacing the halogen light bulb in your Roto F ceiling fan is a relatively simple task that can significantly enhance the functionality and lighting quality of the room. By following the step-by-step guide outlined above and keeping a few maintenance tips in mind, you can ensure that your ceiling fan’s light fixture continues to operate efficiently and safely. Always prioritize safety during the bulb replacement process, and consult a professional if you encounter any issues beyond basic replacement.